


Key Takeaways
- For growing multifamily teams, turning a house into a rental requires more than rent collection: budget for taxes, insurance, maintenance, repairs, deposits, and accounting.
- Check state, city, Fair Housing Act, and Fair Credit Reporting Act requirements before advertising, screening, collecting deposits, or starting any eviction process.
- Price and market each unit using local rent comps, condition, amenities, HUD Fair Market Rent data, strong listing copy, and bright photos.
- The highest-risk pitfall is weak screening: verify income, rental history, credit, eviction, criminal, and references before signing a lease with clear policies.
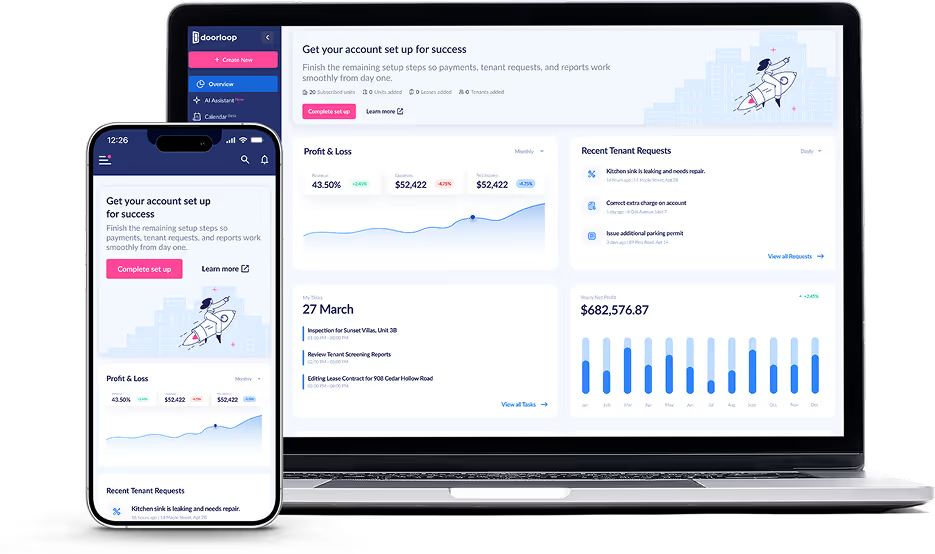
- An all-in-one platform helps scaling operators automate listings, online rent payments, maintenance requests, tenant communications, and accounting instead of stitching together legacy tools.
Investing in rental property isn’t just a great source of cash flow, whether it’s your business or a side investment…
It’s also a great way to diversify your income and add some level of security to your finances.
Not to mention, vacancies are still far below pre-pandemic levels, so it’s easier to fill units and keep them filled:

Did we mention that rent prices are growing as well?
We’ll stop there (promise), but you get the idea: it’s a good time to invest in rental property.
So, the why is obvious.
But if this is your first time, figuring out how to rent out a house you’d like to make into a rental property is another thing altogether.
That’s because being a landlord is a lot of work.
To that end, below, we’ll cover everything you need to know before renting out a property.
Not just to rent out said property, but to help it thrive with high-quality tenants.
How to Rent Out a House: 8 Steps from Start to Finish
Below, we’ve broken down the process of how to rent out a house into 8 steps.
Each step represents a significant part in the process, together making up everything you need to know.

1. Make yourself aware of the costs and responsibilities of being a landlord
Before we get to the nuts-and-bolts, let’s strike to the heart of what all new landlords need to understand:
Being a landlord comes with certain responsibilities.
Understanding what these financial and other responsibilities are is crucial to not only being a great landlord to your tenants but also to the success of your property in general.
Not to mention, keeping you out of trouble as there are a number of state and local laws for both tenants and landlords that you need to make sure you’re abiding by.
If you’ve been paying off the property for a while, you’ll already be aware of:
- Mortgage, and
- Property taxes
With that said, as a landlord, you also need to consider:
- Paying for insurance
- Keeping on top of regular maintenance
- And repairs as they arise
As well as:
- Properly holding security deposits in a separate account
- And property accounting
It’s important to make sure you’ll be able to invest the time and resources into all of the above before taking the first step to turn a house you own into a rental property.
With that said, if you have the financial means, you can always hire outside help such as a property manager or a contractor to handle repairs and regular maintenance to save you time.
2. Learn tenant and rental housing laws
We touched on this above, but it’s easy to overlook.
Learning about housing laws is important because it’s easy to do something that could land you in hot water without even knowing it.
That’s especially true if you (knock on wood) ever have a difficult tenant that you need to evict.
If that happens, you’ll need to adhere to specific eviction laws relevant to your area or end up with an unnecessary and costly lawsuit.
Some examples of housing laws you’ll want to make yourself aware of are:
- Local state and city housing laws (varies by area, use your local municipal .gov website for the most accurate information)
- Fair Credit Reporting Act
- Fair Housing Act
3. Prepare the property
Now that we’ve gotten the knowledge-based points out of the way, let’s start taking action.
Specifically, you’ll need to get your property prepared to be lived in by a tenant.
Some things you’ll want to run through include:
- Is there anything unsafe or not to code that demands immediate repairs?
- Have you kept up with regular maintenance?
- What can you do to make the property more generally appealing to renters in my area?
- What renovations do I want to make that will allow me to either attract more renters or charge more rent?
All of this comes down to two things:
- Requirements: The property needs to be up to code based on local laws.
- And renovations: You want to set up
Making sure to follow local laws and regulations is a necessity, as much as it might not be fun.
We touched on that already in the previous point, so we won’t harp on it.
Renovations are the really important thing here, however, as it’s easy to overlook.
Oftentimes, there are simple renovations you can do that greatly improve how the property is perceived by your prospective tenants to make it more attractive.
And, as a result, receive more applications. And fill your properties faster and easier.
Consider giving the front of the property a facelift, in particular, as that can go a long way and typically doesn’t cost much.
Another great option is to add or update amenities, as even simple ones can go a long way toward attracting your ideal tenant.
Good options include:
- Dishwasher and other new appliances
- USB outlet chargers
- Storage space
- A/C
Think about what your ideal tenant in your area desires and focus on that.
4. Set a price
Next, it’s time to set a price.
Since you should be done with renovations and repairs at this point, you can accurately estimate what you can charge for the property.
Getting this right is important toward making sure your rental property is profitable each month, so make sure you’re considering all factors.
Things to think about when setting your price include:
- What are the rent prices in your area?
- What is the condition of your property compared to those properties?
- What amenities do you offer?
In general, look into how to properly determine Fair Market Rent so you understand what goes into pricing your property at a high level and can more accurately set your rental price.
For more information on that, see HUD’s Fair Market Rent guid here.
Just click on the latest year to the far left and you can view the most current information from HUD on setting Fair Market Rent:

5. Advertise your property
With your price set, it’s time to find a renter!
That’s where advertising comes in, which typically comes in the form of posting your listings to one or more of several listing sites.

Some of the most notable are:
However, keep in mind that you can’t just post your listing, sit back, and expect to get more than a trickle of interest.
Instead, you need to craft your listing from beginning to end in a way that effectively attracts tenants in general, and specifically the type of tenant you’re looking for.
That (mainly) means:
- Compelling copy (text) that speaks directly to the prospective tenant and sells your amenities
- Eye-catching images that do a great job showing off your property in good (natural) lighting
To learn more about how to advertise your rental property, check out our guide: How to Advertise a House for Rent.
6. Collect applications
The next step is pretty straightforward: it’s time to collect applications.
However, don’t make the mistake of thinking that every application is created equal.
Your application process should, as a whole:
- Obtain income information
- Check references and rental history
- Pull credit and eviction history
- Run a criminal background check
If you just collect a bit of personal information and a signature, you won’t have any idea whether that applicant is a fit.
On that note, let’s focus in on how to screen your applicants properly, as that’s part of what your application process should do.
7. Screen your applicants
By now, you should have received your first applicants and be ready to start the screening process.
You want to know before signing the lease that your prospective tenant is someone you can count on to take care of your property and pay their rent on time each month.
Tenant screening– which essentially refers to a collection of checks you can run to gauge an applicant’s historical financial responsibility– does just that.
This is a useful way of gauging whether your tenant is responsible and generally dependable.
We touched on it above, but some examples of types of screening reports you can run include:
- Credit history
- Eviction history
- Criminal background
- References
Getting all of these checks done separately can sound like a pain.
And it can be, but it’s vital to make sure you’re placing a (more than likely) great tenant into your property instead of one who:
- Doesn’t end up paying their rent, is late, or whom in the worst-case scenario you have to evict
- Or doesn’t take care of your property
With that said there is a way to simplify this process with a great property management tool like DoorLoop.
DoorLoop allows you to run multiple types of screening checks, from credit history to criminal background, all from a single streamlined dashboard.
See how DoorLoop can help simplify your entire property management process including tenant screening.
8. Choose a tenant and sign the lease
Now that you’ve finished screening your applicants, you should be ready to choose your tenant and finalize the lease.
But don’t think that every lease is made equal.
You can’t just grab the first lease template you see online, slap your information into it, and call it a day.
If you want your relationship with your tenant, and your rental property venture as a whole, to go smoothly, you need to be intentional about what you put into your lease.
Here are some examples of basic items you’ll want to include:
- Rent price
- Security deposit
- Accepted payment methods
- Lease duration
- Restrictions and policies regarding the use of the property (pets, parking, smoking, etc.)
Beyond this, however, it can help to include:
- Expectations regarding communications
- Policy surrounding landlord visits
- As well as maintenance
Anything you can include within your lease that clarifies your expectations can be a great inclusion.
It also gives you something to refer back to later in writing (and signed) if and when a tenant breaks one of those policies.
Just make sure to enforce those policies, otherwise your tenant may see that you’re not serious and be more likely to take advantage of said rules.
Make your first rental a streamlined experience
If you’re starting with your very first rental property, there can be a lot to manage all at once.
You need to prepare the property, advertise, set up your lease agreement and overall property rules, and screen and set up your new tenant.
That’s just the beginning, though.
Once you’ve got everything set up, it’s time to collect rent and manage your property on an ongoing basis.
To that end, you need tools to help you:
- Collect that rent
- Receive maintenance requests
- Manage your accounting
- The list goes on
Doing all that without help is rough, yet doable.
But if you’d prefer that managing your property doesn’t take up all of your time, check out DoorLoop.

You can not only automatically accept rent payments each month into your bank account, you can also:
- Handle all your accounting (along with a super simple QuickBooks Online integration if you need it)
- Streamline tenant communications into one place
- Receive and organize maintenance requests from tenants directly within the app and even assign to vendors
- List automatically on major listing platforms so you can keep your properties and units filled easier
- And much more
See what DoorLoop can do for you and get your rental property ventures off to a running start.
Frequently Asked Questions